
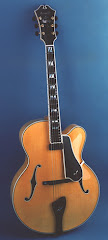
Local guitar builder Dean Harden came by to work on the cradle for the Archtop he is making. Dean has been building guitars most of his life and plans to make a show piece. Quilted Maple sides and back, select Spruce top and Tiger striped maple neck. Unfortunately, the wood has been back ordered and so the only thing to do is play around with the prep work. We had a nice time together, he knows his way around a shop and I had no worries with him around the machines. It's nice to have someone to ask questions. I'll try to post Dean's progress.

A few pieces of hardware from Lowes some plastic from my friend Dean, and I have a fret bender. The base is a drill press vise from Harbor freight. I use a 1/4 inch allen wrench in place of a crank. I found the details for this at;
http://projectguitar.ibforums.com/index.php?showtopic=14027Adding the neck extension requires another jig; following the book's method, I built the Jig shown below. For the actual glue up I place another clamp on the heal of the neck. The bar clamps were inexpensive clamps that I purchased from Harbor freight as part of my you can never have "too many" clamps philosophy. These clamps however can only be used for the lightest duty situations. This is not a power clamping situation, however I am going to look for F-type clamps to replace these for the next glue up.

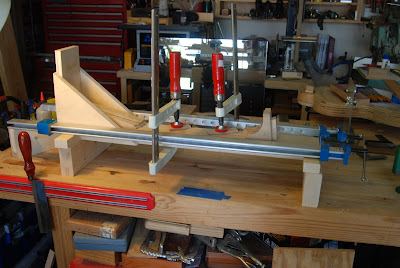
The long view.
 headstock template the two screws are fastened into the area that will be drilled to receive tuners.
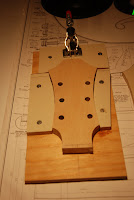


 Smoothing is done on the spindle sander. I used a triangular file for the center section. Had I used solid wood I could have used chisels.


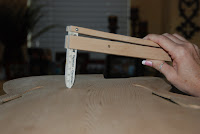 Caliper in use. (not my hand)


